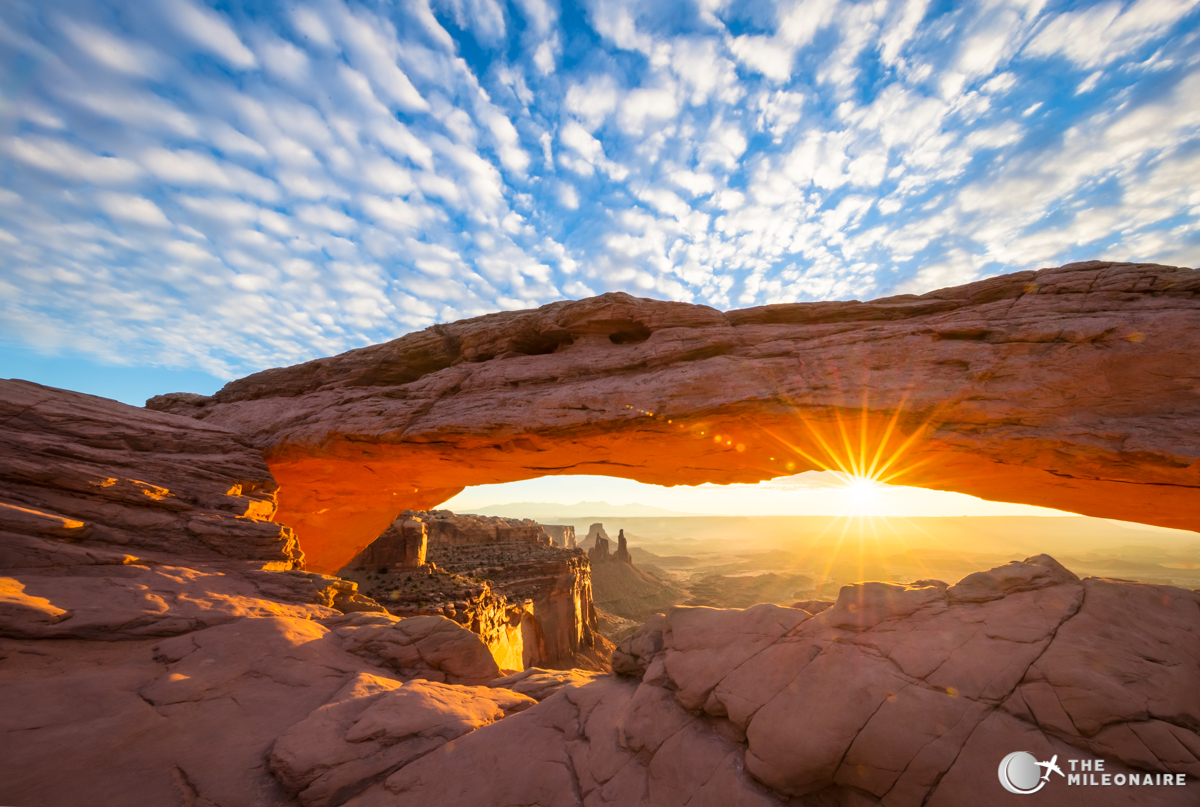
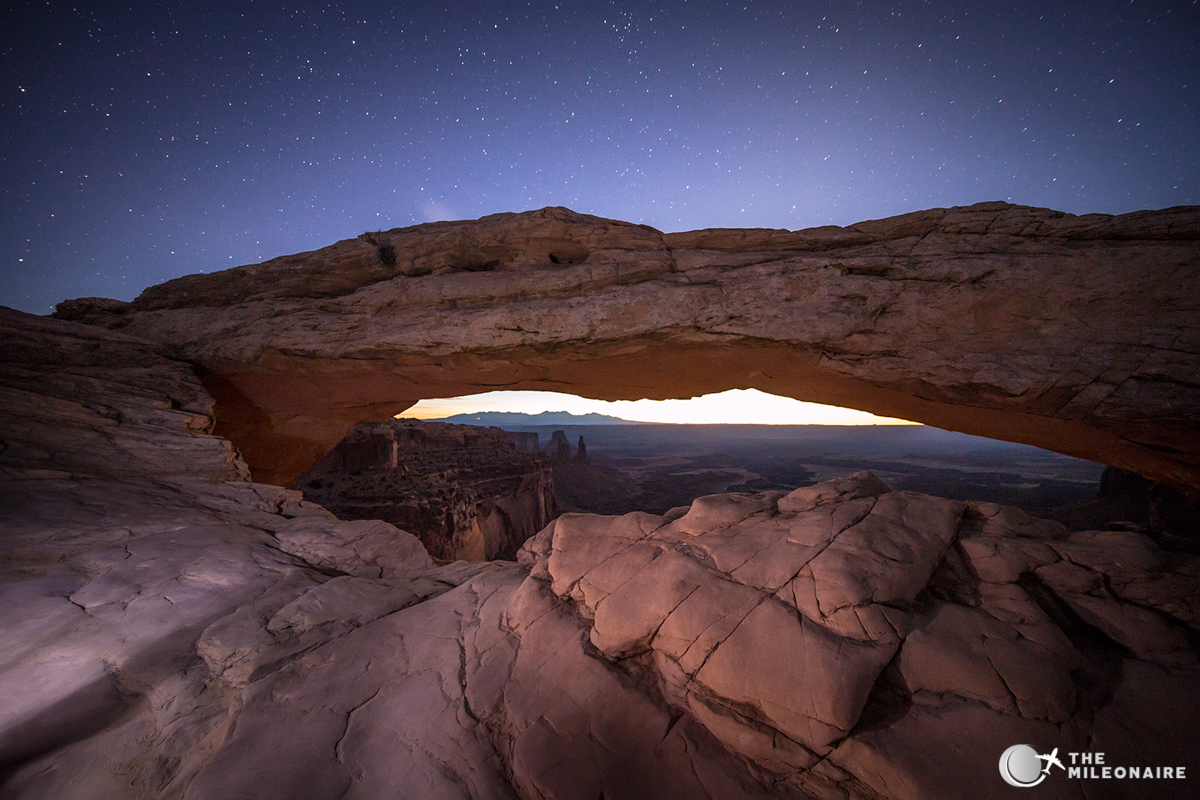
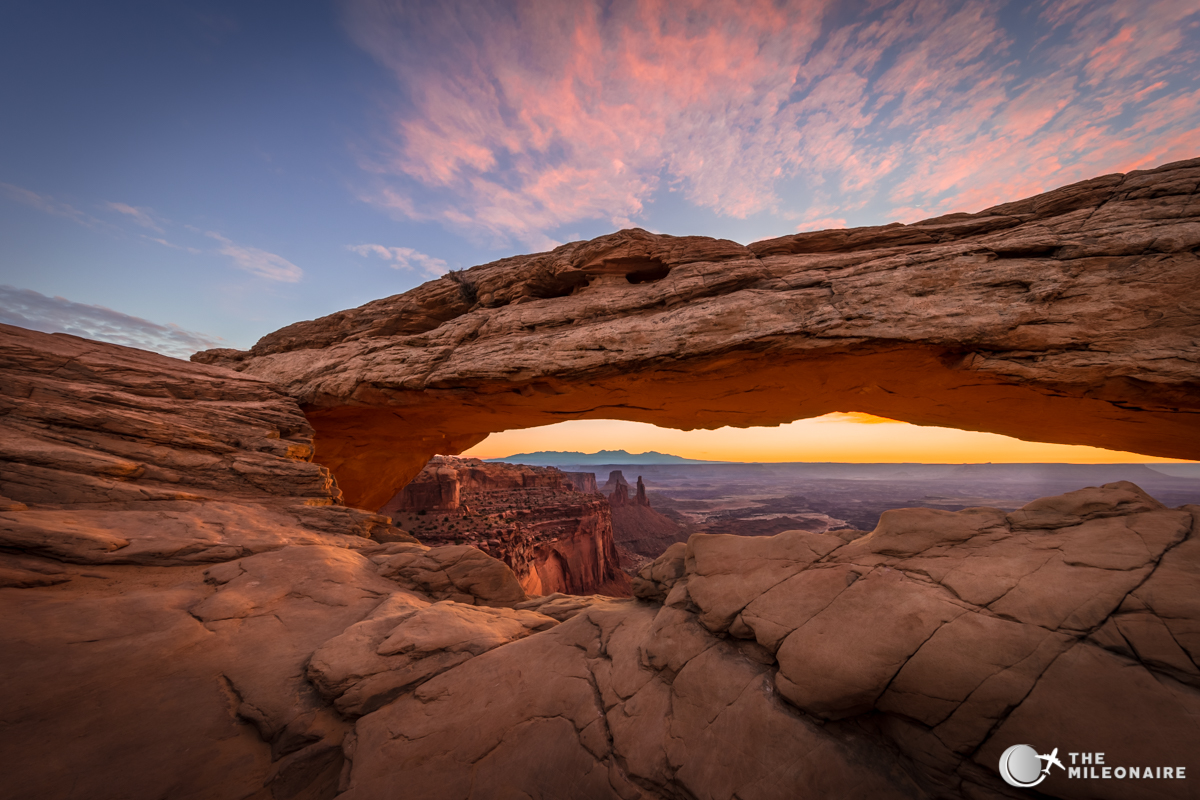
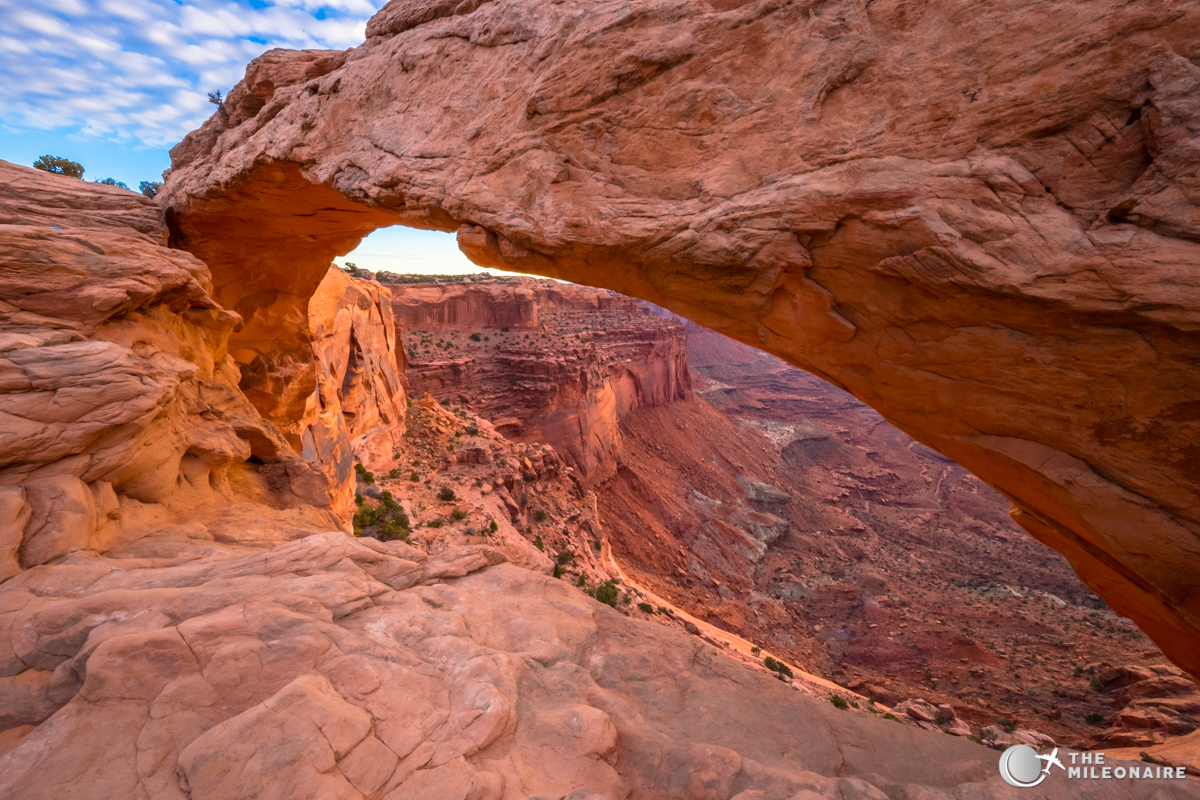
After half a dozen of photo road trips through the US Southwest I found a few photo spots, that excite me all over again when I get there. But still, among all these spots, I have a clear favorite: photographing Mesa Arch during sunrise. If you haven’t heard of it yet: Mesa Arch is a small natural arch on a cliff inside Canyonlands National Park. Early in the morning, photographers from all around the world gather around the arch to witness one of the best sunrises you can find. This is what it looked like during my last visit for example:
Taking a photo like this one isn’t as hard as it might seem – if you do your homework beforehand. That’s why I’ve put together all of my experience in this article and created 5 easy steps on how to take the best photos at Mesa Arch – from getting there to camera settings.
1. Preparation
The best way of photographing Mesa Arch is obviously during a road trip through the US Southwest. Moab is the town you’d want to stay in, as it’s just 30 minutes away from Canyonlands National Park (where Mesa Arch is located). Arches National Park is also nearby, so you can actually spend a few great days there. To enter the park and get to Mesa Arch, you obviously need a ticket – but the booth is closed in the early morning. That’s why you should get a ticket for Canyonlands the day before, or (the best option in my opinion) buy the Annual Pass for 80 USD. With that pass you can enter all US National Parks as often as you want throughout a whole year. You should also get a full tank of gas and something to drink/eat on the day before visiting Mesa Arch.
2. Getting there & Hiking the Mesa Arch Trails
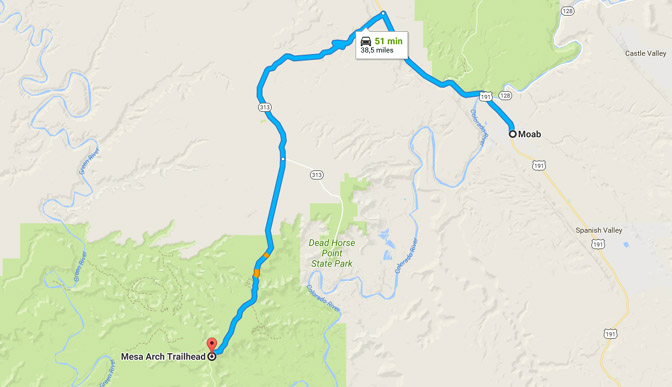
From Moab you’ll reach the entrance of Canyonlands in approximately 30 minutes, and then it’s another 15 minutes to the Mesa Arch trailhead. That trailhead is included in most GPS devices and Google Maps, so you can easily find it with your car. As you have to drive there way before sunrise, it’ll be dark – and I mean completely dark as there are not a lot of light sources around you. As the drive is pretty easy, it shouldn’t be a problem (watch out for wildlife though).
Check on Google when the sun will rise at the time of your visit. In my case (Fall/Winter) it was around 7AM, so my timeline looked like this:
4:40: Waking up
5:00: Start the drive to Mesa Arch Trailhead
5:45: Arrive at Trail Head, start the Hike
6:00: Arrive at Mesa Arch, set everything up
7:00: Sunrise
8:30: Hike back
When arriving at the Trailhead, you’ll nearly always spot other cars on the parking lot already (the most definite sign that you’re at the right trailhead). The hike is pretty easy and takes under 15 minutes, but you should definitely bring a head lamp (or your cell phone’s light). Just follow the foot paths and small stone sculptures, and you should easily find the way. From a distance you should see the lights of other photographers already, which should also help you finding the right spot in the darkness.
3. Equipment
Real talk first: For the perfect photo of Mesa Arch you will need some good photo equipment. The difficult lighting situation (bright sun, dark foreground) and the width of the arch can’t be properly captured with a simple point’n’click camera. The following equipment is needed:
3.1 Tripod
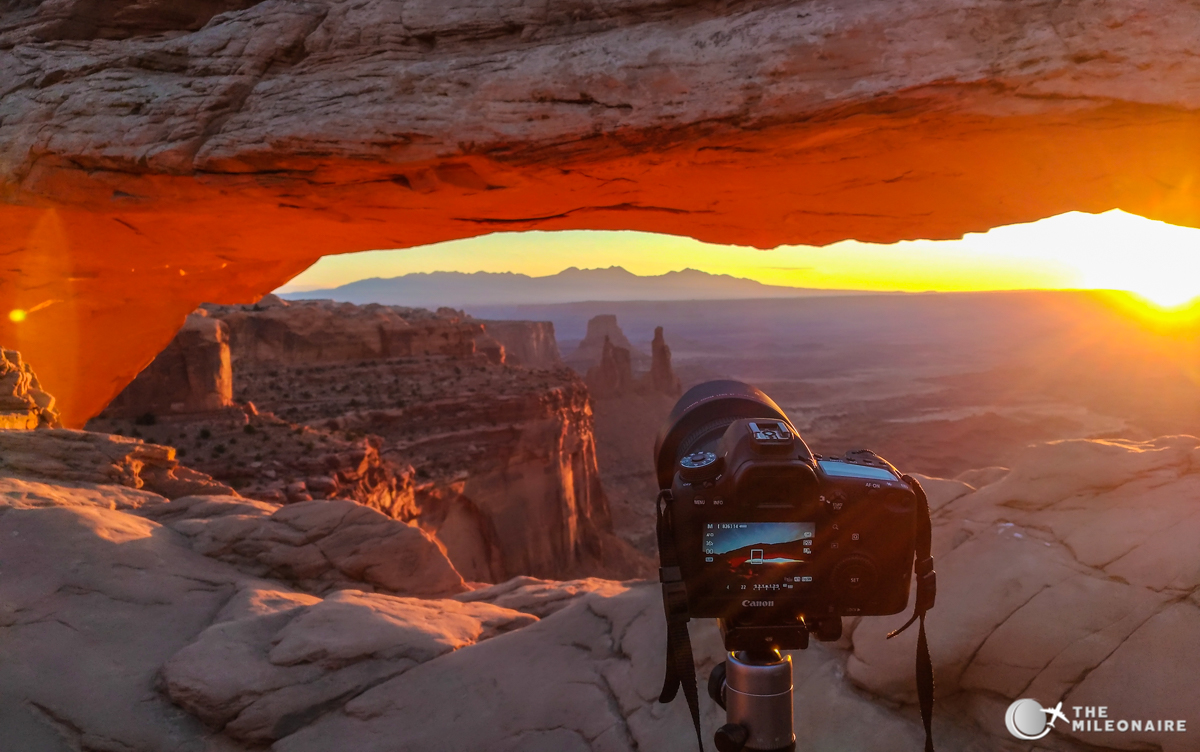
With a difficult lighting setup and the benefits of bracketing, you will definitely need a tripod. Long exposure times make it necessary to have your camera in the same spot for multiple seconds, and that’s just not possible without one.
3.2 Wide Angle Lens
Even though Mesa Arch is surprisingly small, a ‘normal’ lens will not be able to capture it in all its width. A wide angle lens is necessary, or you will just have a part of the arch on your photo. I personally use the Canon EF 11-24mm for my full-frame EOS 6D, but also the 16-35mm was delivering good results before that. There are also more inexpensive (but still good) options for all types of camera (different manufacturers, full frame vs. crop frame), made by e.g. Sigma or Tamron.
3.3 Camera with good low-light Performance
When photographing sunrises, there are vastly different levels of exposure in one photo. Especially Mesa Arch itself will be pretty dark compared to the brightness of the sun. Your camera needs to have a good low-light performance with low levels of grain.
3.4 Camera with HDR/Bracketing option
When you’re at Mesa Arch, most photographers will just go ‘clack-clack-clack’ all the time. That’s the sound of bracketing, taking the same photo multiple times with different exposure levels. Due to the difficult lighting, I highly recommend doing that as well (bright sun, dark arch) and stitching them together via software afterwards.
4. Setting up your Gear at Mesa Arch
The incredible beauty of Mesa Arch is no secret anymore. Photographers from around the world flock that place every single morning with their tripods. Especially during main season (April – October) it can get super crowded around the arch – and if you’re too late, there might not be any good spots left and you have to stand on the side. The earlier you arrive in the morning, the better your chances are to get one of the preferred photo spots in the middle. When you arrive, pick a spot and set up your tripod already. Take a few test shots and see if you’re satisfied with your spot. If yes, then wait for the beautiful sunrise.
One thing I’d like to mention as well: please stick to the photo etiquette! Of course, everyone wants to get the perfect shot. Maybe for some, it’s the only chance they have in life to visit Mesa Arch. But still, being mindful and respectful towards others is key. When you’re too late, it’s your fault – and you should not squeeze between two other tripods taking away the space of others that arrived before you. Don’t put your tripod into the photos of others (especially when setting up on the sides), don’t just go posing in front of the arch (you might be ruining a dozen of shots at once) and don’t use your flash all the time. Most of the time, the atmosphere among photographers at Mesa Arch is awesome, and everyone’s helping each other out. Try to keep that positivity alive, and you might be able to sneak between two photographers for that one shot if you ask nicely.
5. Taking Photos
As the best sunrise photo opportunities at Mesa Arch only last a few minutes (when the sun comes up behind the horizon, and disappears later behind the arch), you should have your camera prepared before the sun comes up. Ideally you use the camera’s manual mode and set the ISO to 100 or 200. In addition, I like to use an aperture of f/22 (or whatever similar number your camera has) to get the best ‘sun stars’ when taking photos directly into the sun. Of course, that means you’ll have to use a longer exposure time to balance that out. My best photos of Mesa Arch have been done with these settings, and a bracketing with 5 shots taken in a short time with different exposures.


